Brooke here. This is the second post on the foundation repairs (the first is here, and is a good place to brush up on the pre-dig phase).
 The problem with a sinking foundation is, um, well… Yeah. That’s a whole bunch of wrongness in a sinking foundation. We pulled the trigger on the repairs after a noise like a gunshot woke us at three in the morning–I’m not sure what broke, but it was loud and probably structural, and we’ll most likely learn what it was at a later date when the ceiling caves in on us, or…or… I don’t know. A spontaneous outbreak of timber wolves or something.
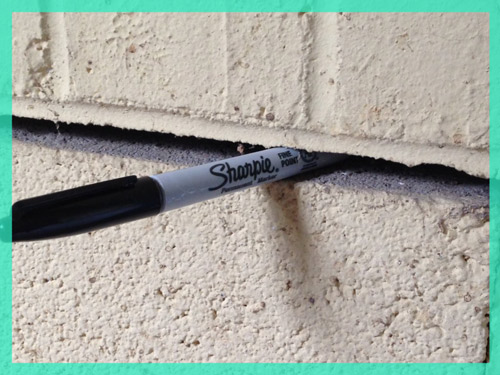
By this point, the visible cracking was getting pretty bad. They say that you can ignore a crack in the foundation until it’s big enough to slip a pencil into:
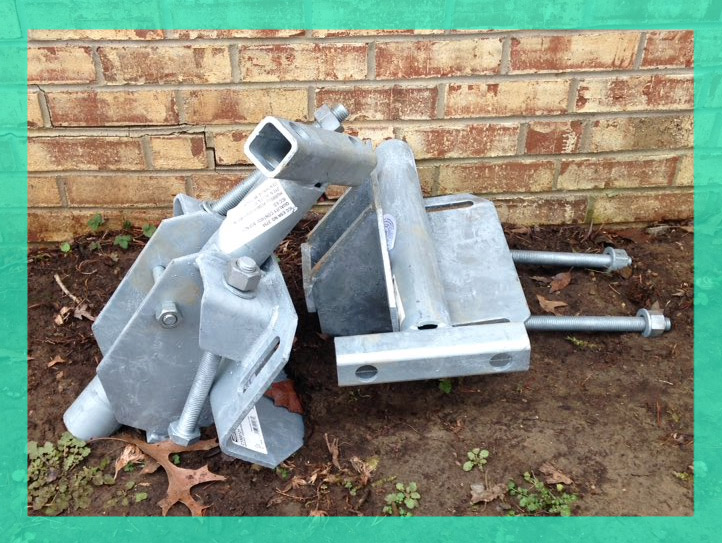
The foundation repair company showed up with a mountain of metal. We knew this was coming, as they were using a helical pier method to stabilize the foundation. Short version: they put screws into bedrock, and this stabilizes the house. If you’re lucky, they might be able to lift the foundation close to its original position (we weren’t that lucky, but that’s yet another foundation repair post for another day). The size of the screws and equipment they used was intimidating, but I guess that’s okay, considering they were lifting a whole building:
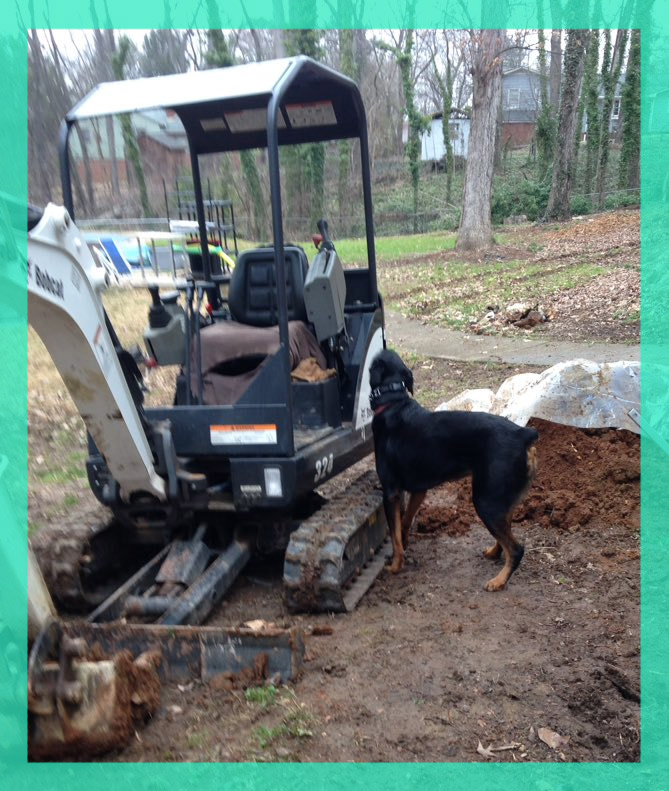
They came out with a small Bobcat and dug at five points: two on either side of the garage door, and three alongside the east wall of the house. It was late winter and had been raining non-stop, and the place turned into a mud slick.
They dug down at those five points to expose the slab.
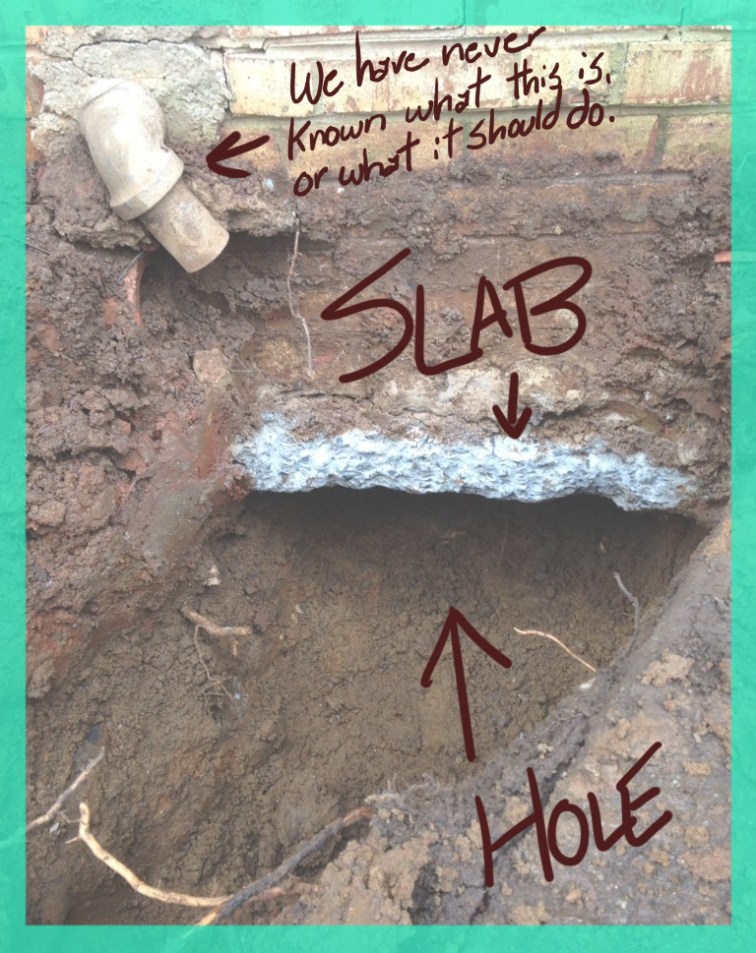
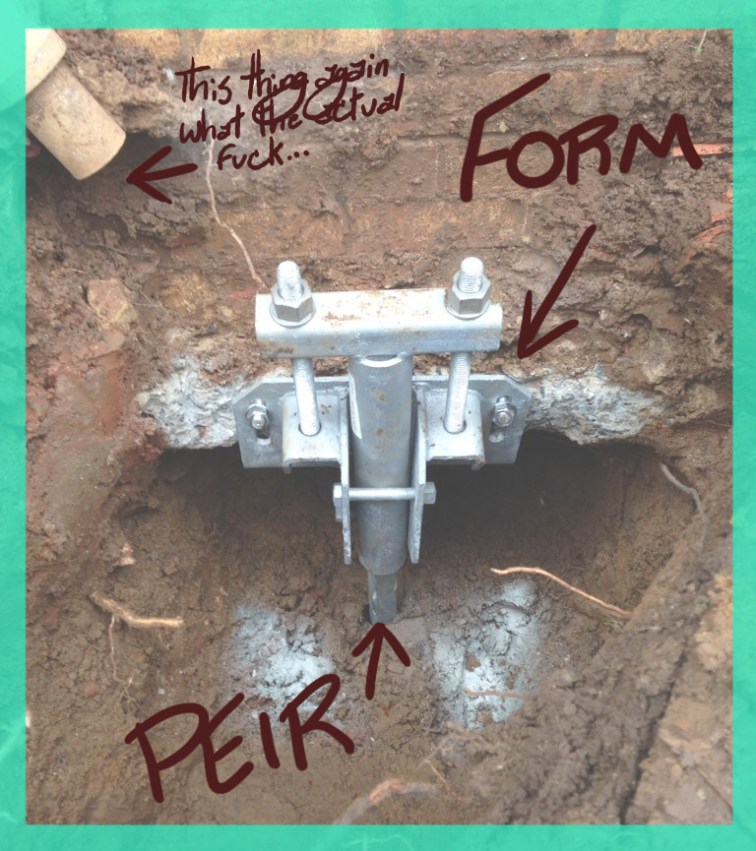
Look at all of those roots why did they let a tree grow this close to the house honestly… ANYHOW. Once they had located and cleaned out the area under the slab, they slid the forms beneath it and attached the form to the slab. Then, they screwed the piers into the soil until they located bedrock.
We got lucky: our bedrock was about 10-15 ft deep. Some cases of foundation repair have needed to go 50 ft deep or more, and there’s an additional cost based per foot of pier they have to use to locate bedrock. Plus, there’s an increased risk of the piers bending based on the deeper you go. Think of the house like it’s floating in the ocean, with poles anchoring it to the floor: the greater the depth, the more possibilities there are for twisting or other forms of damage to occur. Fortunately, they got to stay shallow and the house is a pretty good position (don’t hit me) now.
Once the piers were set, the house could be stabilized. That’s the next post on the foundation repair, and it comes with a bonus video of explody-foam!

I’m looking forward to the explody-foam. That’s always fun to watch.
not complaining, but the shavings you indicate are likely concrete dust from drilling the anchor holes for the lifting appliance. Note how bolts are going into the edge of the slab.